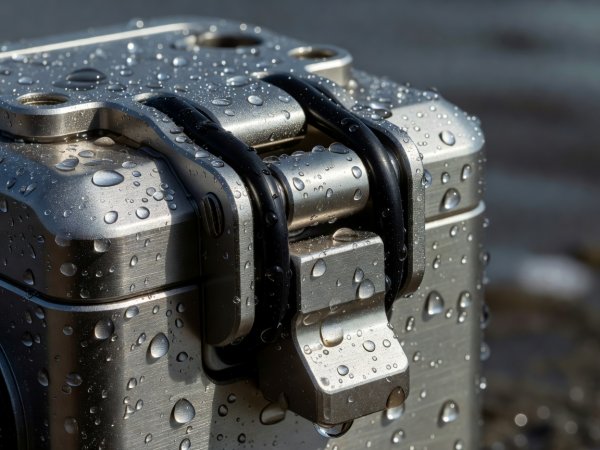
 Camera Setup
Seal Integrity & Shutter Speed
Inspect silicone O-rings under raking light for single grains of quartz sand, and lock shutter speed at 1/1000s or faster to freeze lip spray.
Read Setup Guide →One deliberate filming choice per session turns chaotic whitewater clips into readable, steady surf cinema—while keeping ocean awareness ahead of the lens.
Plan your next surf shotFilming decision: Lock your exit channel and impact-zone drift marker before sealing the housing latch. When your eye drops to a rear LCD or viewfinder, peripheral vision narrows by more than sixty percent, hiding cleanup sets and loose fiberglass boards heading toward the shoulder.
Swim with a quick-release wrist or bicep tether rated for heavy lip impact, never a rigid neck strap that can tangle during a two-wave hold-down. At heavy reef passes like Pipeline or rock-lined slabs, wear low-volume rubber swim fins (such as DaFin or Churchill Makapuu) so you can kick clear of a surfer's rail line in two strokes while holding a water housing down against your chest.
"A missed barrel is forgotten by low tide; a heavy housing swung into a crowded takeoff zone ruins the session for everyone." — Lineup Safety Protocol, North Shore Swim Crew
Camera Setup
Inspect silicone O-rings under raking light for single grains of quartz sand, and lock shutter speed at 1/1000s or faster to freeze lip spray.
Read Setup Guide →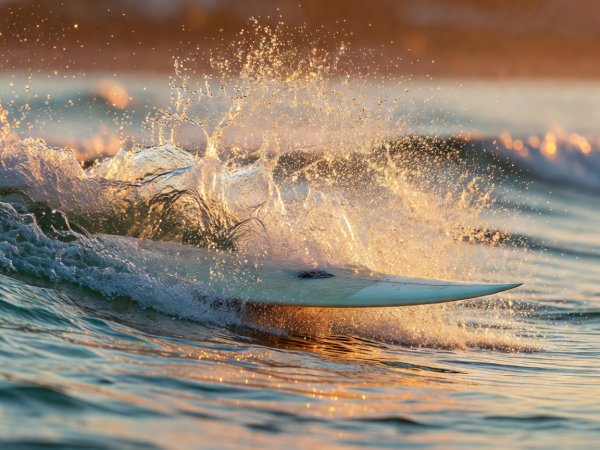 Wave Angles
Swim below the boiling lip line and frame the surfer's bottom turn alongside the unbroken wall so viewers feel the true steepness of the trough.
Study Lineup Angles →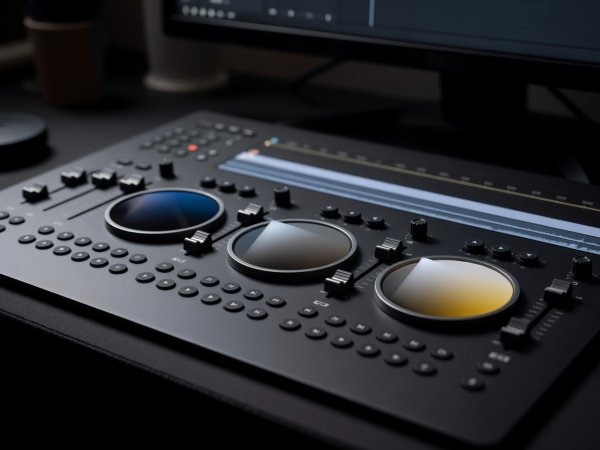 Editing
Resist dropping every clip to 24% speed. Hold 100% real-time velocity during the drop so the speed ramp inside the tube carries physical weight.
Open Cut Workshop →Filming decision: Ditch tall extension arms on nose mounts and bite down on a low-profile mouth mount with a float block when shooting point-of-view barrels. Every centimeter a GoPro Hero12 Black, DJI Osmo Action 4, or Insta360 Ace Pro sits away from your center of mass multiplies pitch chatter when your board skips across chop.
Set resolution to 4K at 120 frames per second in a 4:3 or 8:7 sensor aspect ratio before entering the water. The taller vertical frame captures both your front foot placement on the wax and the pitching lip overhead, giving you room in post-production to re-center the horizon without cropping off the nose of the surfboard.
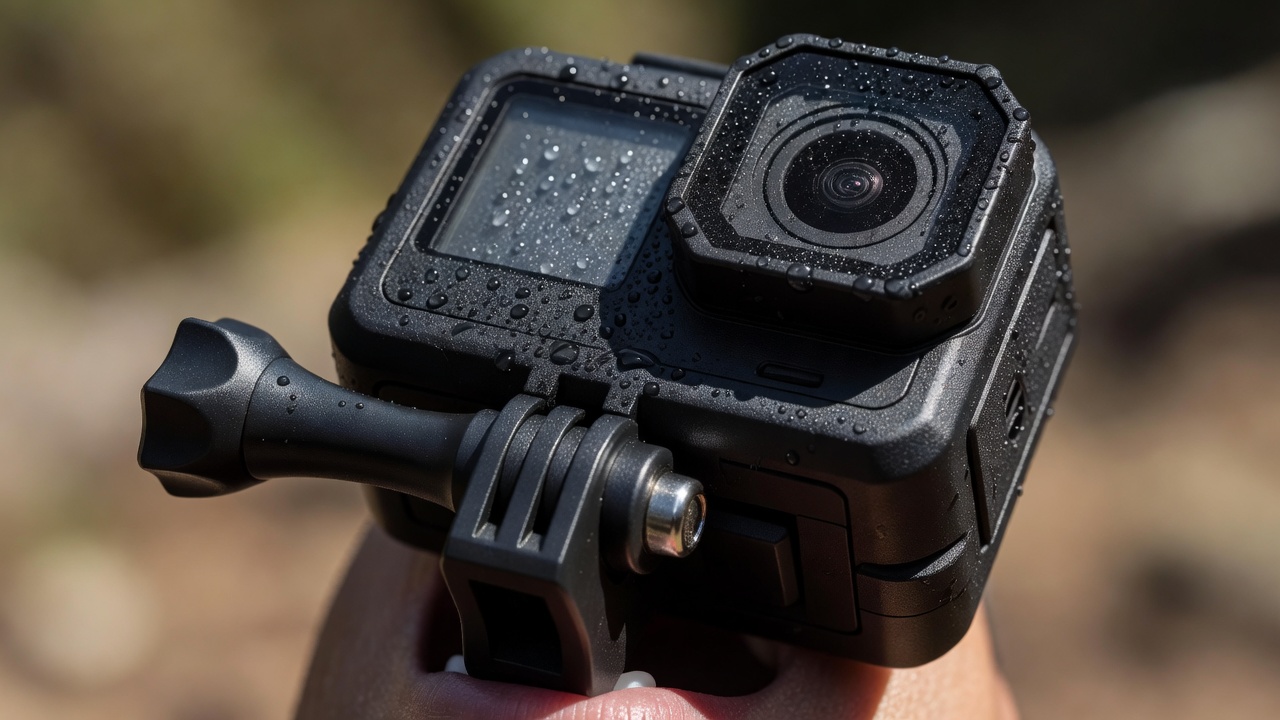
Filming decision: Keep the horizon in the upper third when shooting from the water channel so the wave's drawing power fills the lower frame. High cliff tripods flatten three-meter swells into harmless ripples, whereas a lens held four inches above the trough turns a waist-high beachbreak into a towering liquid wall.
Tread water two board-lengths outside the impact pocket; duck under the lip half a second after the surfer passes your shoulder.
Mount fluid head at low tide line to compress multiple peeling sections and isolate rail spray against dark offshore wind texture.
Fly at a 35-degree oblique quartering angle from the shoulder rather than straight top-down to preserve wave face height.
Filming decision: Anchor every wave sequence with three seconds of ambient ocean audio before the first paddle stroke. Cutting straight from hard rock music to a mid-face snap strips the clip of scale; letting the low-frequency rumble of the reef swell under the J-cut makes the viewer brace for the takeoff.
Wide static frame of kelp movement, wind grooming the lip, or wet rocks draining on the reef.
Full-speed paddle and rail engagement at 100% timeline velocity to prove wave speed.
Smooth Bézier speed curve dropping to 40% solely during the critical lip release or tube exit.
Filming decision: Study classic 16mm and Super 35mm surf films with the sound muted to track how master cinematographers motivate camera movement from the surfer's body torque rather than erratic zoom pulls.
Study how long-lens tripod pans at Cape St. Francis establish geography and wave length in a single unbroken take.
Observe back-lit golden-hour exposure at Uluwatu and Kirra, letting shadow detail fall dark to highlight golden spray.
Analyze RED Dragon 4K high-frame-rate Phantom Flex4K sequences with John John Florence for clean speed ramping.
Quick answers for common water-housing and timeline obstacles before you paddle out at dawn.
Avoid touching the port with sunscreen-coated fingers. Either apply a dedicated hydrophobic rain repellent to glass ports or lick the acrylic lens and dip it continuously until four seconds before the surfer drops in so a uniform sheet of water drains cleanly.
Electronic stabilization (HyperSmooth or RockSteady) struggles when shutter speed drops below 1/500s in low dawn light, creating ghostly motion blur. Lock ISO max at 400 and force a minimum 1/1000s shutter.
Jump directly to Set Up for the Session, Frame the Ride, Cut for Wave Rhythm, Surf Films Worth Studying, or read all 10 field answers on our Behind the Surf Shot FAQ.
Cookies on this site Essential cookies keep this site working. Optional ones help us see what is useful. You can change your choice at any time. Cookie policy