1. Reading Bathymetry and Holding the Channel
Great water cinematography happens ten minutes before the set arrives. When you swim out at a reef pass like Uluwatu, a cobblestone point like Rincon, or a shifting sandbar at Hossegor, spend five minutes triangulating two land markers: one aligned with the outer boil where swells first peak, and a second marking the inside edge of the rip channel. As a water photographer, your job is to hover on the steepest edge of the shoulder where the lip throws forward without blocking the surfer's clean trim line.
When a surfer commits to a deep bottom turn toward you, kick hard with your fins to elevate your chest while keeping your pistol-grip housing steadied against your brow. Never pull back halfway through the shot. Commit to holding the frame until the surfboard fins release spray past your lens, then dive straight toward the sea floor into the calm water beneath the turbulent vortex.
Distance: 1 to 2.5 meters. Captures inside-out barrel perspective and vertical lip throw right above the dome port.
Distance: 6 to 12 meters. Natural human-eye perspective from the shoulder; zero barrel distortion on cutbacks.
Distance: 20 to 40 meters. Safe channel position for heavy reefs like Teahupo'o; isolates tight rail work.
2. Land-Based Telephoto Panning Mechanics
Filming from the sand or low rocks requires fighting two invisible enemies: tripod wind vibration and coastal heat haze. Even a moderate 15-knot offshore breeze will cause a lightweight travel tripod to shudder at 400mm or 600mm focal lengths. Use a heavy-duty bowl-leveling tripod with a true fluid drag head (such as a Sachtler Ace or Manfrotto 504X), hang your drybag from the center column hook for ballast, and plant the spiked feet firmly into wet, packed sand below the dry berm.
Set horizontal fluid drag to medium-high and vertical drag to light. Lead the surfer in the frame: keep two-thirds of the composition open in front of the nose of the surfboard so the viewer sees the oncoming section before the surfer hits it. Only let the surfer cross the center line of the frame when they kick out over the back of the wave.
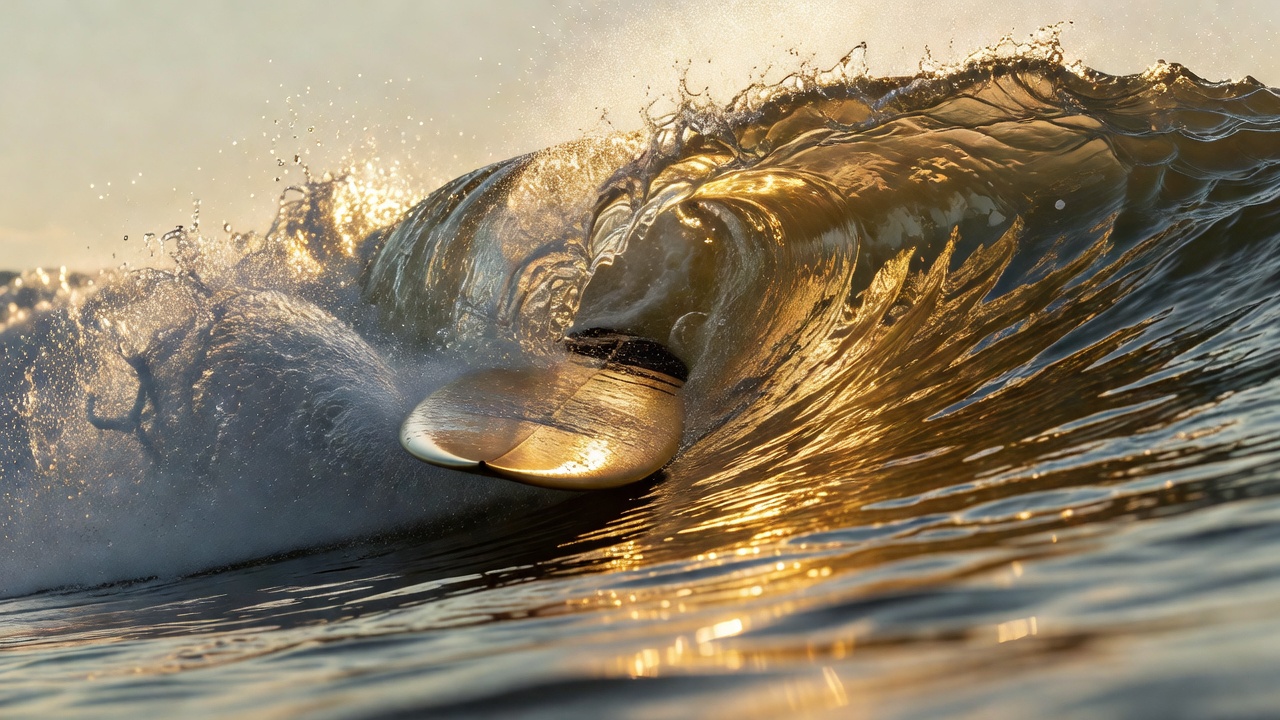
3. Drone Altitude and Oblique Framing
The biggest mistake new aerial surf operators make is flying directly overhead at 90 degrees (top-down nadir). While a top-down view highlights turquoise reef patterns and paddling trails, it completely erases the vertical height of the wave, making an overhead barrel look like a flat line of white foam. Instead, drop your drone altitude to between 10 and 18 meters above the water surface, position the aircraft 30 meters down the line in the channel, and tilt the gimbal up to a 30-to-40-degree oblique angle.
Always monitor onshore and offshore wind gusts on your flight controller telemetry. Offshore winds accelerate rapidly over coastal cliffs—keep at least 35% battery reserve for the return flight against headwinds, and never hover directly above swimmers or surfers in the lineup.